

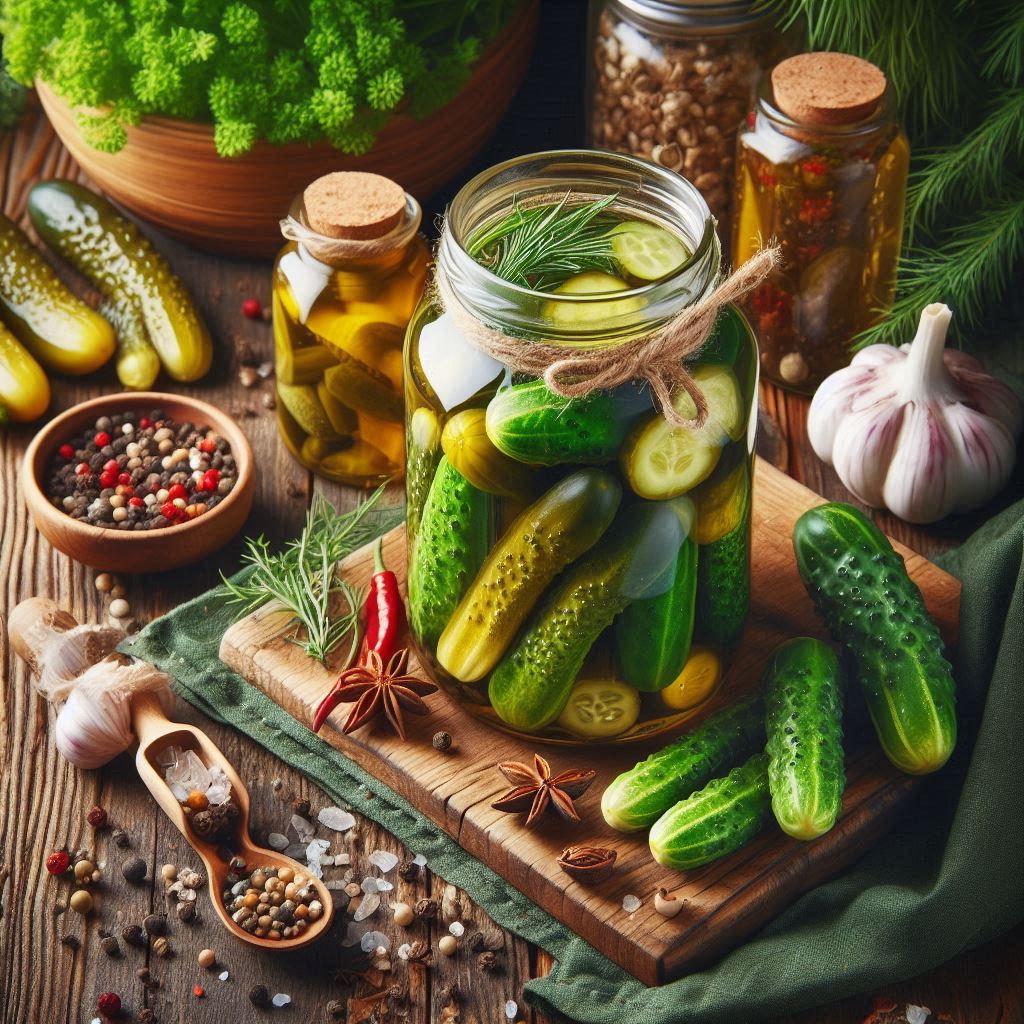
Refrigerator dill pickles give you a crisp, tangy snack without the long wait or canning work required by traditional methods. This quick and easy refrigerator dill pickles recipe uses fresh cucumbers, dill, garlic, vinegar, water, salt, and a little sugar. You can taste the pickles after 24 hours, although the flavor improves after three to five days.
Because the jars stay cold in the refrigerator, this method keeps the cucumbers fresh and crunchy. It also lets you adjust the flavor with spices, garlic, or a little heat. Follow the simple guide below for homemade pickles that work well as a snack, sandwich topping, or side dish.
Quick & Easy Refrigerator Dill Pickles Recipe At A Glance
This refrigerator dill pickles recipe is designed for simple preparation and fresh flavor. The brine combines equal parts vinegar and water with salt and sugar. After the cucumbers sit in the chilled jars, the dill and garlic infuse each bite.
| Recipe detail | What to expect |
|---|---|
| Preparation style | Refrigerator pickling, without a water-bath process |
| First tasting time | At least 24 hours |
| Best flavor | Usually after 3-5 days |
| Storage | Keep sealed in the refrigerator |
| Storage period | Up to 2 months, with the best crunch in the first few weeks |
What Makes Refrigerator Dill Pickles Different?
Refrigerator dill pickles use a vinegar, water, salt, and spice brine. Instead of processing sealed jars in a water bath, you store them in the refrigerator. Therefore, the cucumbers keep more of their natural crunch.
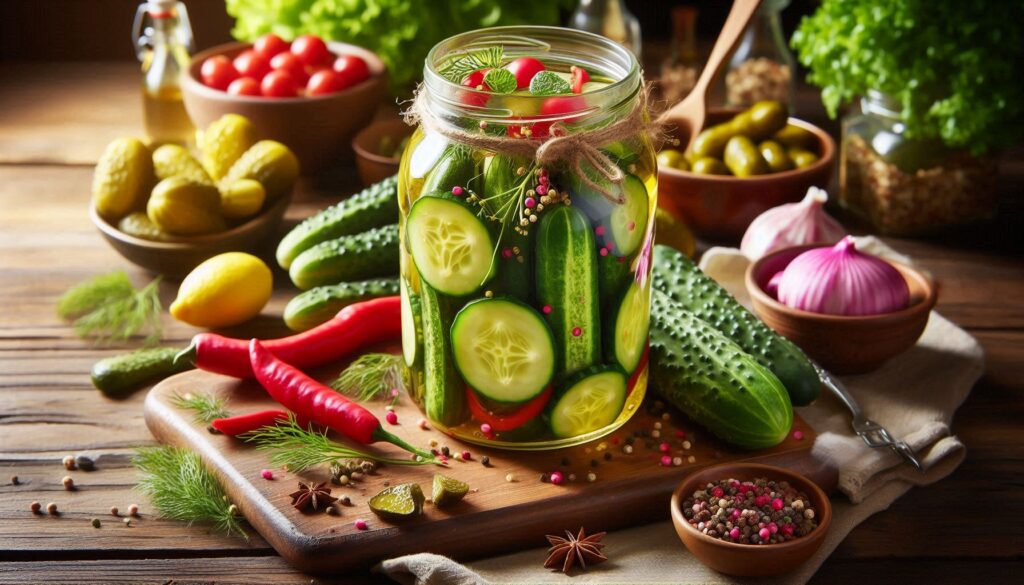
The method is especially useful when you want a small homemade batch. It avoids extensive equipment and does not require hours of boiling jars. However, the finished pickles need refrigeration and are intended for chilled storage.
Why This Refrigerator Dill Pickles Recipe Works Well
Refrigerator dill pickles offer a fresh taste and firm bite that many people enjoy. The short preparation also makes the recipe approachable when you want homemade pickles within a few days.
- Fresh texture: Firm cucumbers help preserve the signature pickle crunch.
- Bright flavor: Vinegar supplies tang, while dill adds a familiar herbal note.
- Simple process: You need only basic kitchen tools and clean jars.
- Flexible seasoning: Garlic, mustard seeds, peppercorns, or red pepper flakes can change the flavor.
- Quick results: You can begin tasting the pickles after 24 hours.
Furthermore, the recipe gives you control over the final taste. You can increase the garlic, add heat, or reduce the salt to suit your preference.
Ingredients For Refrigerator Dill Pickles
Good refrigerator dill pickles begin with firm produce and a balanced brine. Gather the ingredients below before you start, so packing the jars stays quick and organized.
| Ingredient | Purpose and practical guidance |
|---|---|
| Fresh cucumbers | Pickling or Kirby cucumbers work well because they are small and crisp. |
| Fresh dill | Provides the classic dill pickle flavor; use several sprigs per jar. |
| Garlic cloves | Add a strong, savory flavor. Fresh cloves provide the best taste. |
| Vinegar | Use white vinegar or apple cider vinegar for the pickle’s tang. |
| Water | Filtered water helps avoid unwanted flavors from tap water. |
| Salt | Pickling salt or kosher salt dissolves easily and has no added substances. |
| Sugar | A small amount balances the acidity and rounds out the flavor. |
| Optional spices | Mustard seeds, peppercorns, or red pepper flakes add variety. |
The brine uses 1 cup of vinegar, 1 cup of water, 1 tablespoon of salt, and 1 tablespoon of sugar. This mixture forms the flavor base for the jars.
Equipment You Will Need
This refrigerator dill pickles recipe uses ordinary kitchen equipment. Prepare the following items before cutting the cucumbers or heating the brine.
- Mason jars with lids
- A small saucepan
- Measuring cups and spoons
- A cutting board
- A kitchen knife
Clean jars help keep the preparation tidy. In addition, jars with secure lids make it easier to store the pickles without spills or strong odors in the refrigerator.
How To Prepare Refrigerator Dill Pickles
Refrigerator dill pickles come together through four straightforward stages: prepare the cucumbers, heat the brine, fill the jars, and chill them. Work carefully so the cucumbers remain covered by liquid.
Prepare The Cucumbers
Wash the cucumbers thoroughly under clean water. Next, cut them into spears or slices, depending on how you plan to serve them. Firm cucumbers produce the most satisfying texture.
Make The Brine
Combine 1 cup of vinegar, 1 cup of water, 1 tablespoon of salt, and 1 tablespoon of sugar in a small saucepan. Bring the mixture to a boil while stirring.
Continue stirring until the salt and sugar dissolve. Then remove the saucepan from the heat and let the liquid cool to room temperature. Cooling the brine helps protect the cucumber’s crisp texture.
Fill The Jars
Place several dill sprigs, two garlic cloves, and any chosen spices in the bottom of each jar. Pack the cucumber spears or slices tightly, but leave enough room for the brine.
Pour the cooled brine over the cucumbers until they are fully submerged. Leave a little space at the top, then secure the lids. Full coverage helps the cucumbers absorb the seasoning evenly.
Chill Before Serving
Place the sealed jars in the refrigerator. You may taste the pickles after 24 hours. However, the flavor usually becomes more developed after three to five days in the brine.
Tips For A Crisp, Flavorful Result
Small choices can improve refrigerator dill pickles. Start with firm cucumbers, and keep every piece beneath the brine during storage.
- Choose fresh, firm cucumbers rather than soft ones.
- Use pickling or Kirby cucumbers when available.
- Allow the brine to cool before pouring it over the vegetables.
- Keep the cucumbers fully covered with liquid.
- Adjust the seasonings gradually to match your taste.
- Use a fresh brine for each new batch instead of reusing the old liquid.
Furthermore, tasting after the first day gives you a useful guide. If the flavor feels mild, additional time in the refrigerator will allow the dill, garlic, and spices to develop.
Flavor Variations To Try
These refrigerator dill pickles can change easily with a few simple additions. The basic brine remains the same, while the extra ingredients create a different taste and level of heat.
Spicy Dill Pickles
Add several jalapeño slices or a pinch of red pepper flakes to the brine. This option gives the pickles a sharper, warmer finish without changing the basic preparation.
Garlic Dill Pickles
Increase the amount of fresh garlic for a stronger savory flavor. Garlic pairs well with dill and vinegar, making this variation useful for burgers, sandwiches, and snack plates.
Ways To Serve Refrigerator Dill Pickles
Refrigerator dill pickles make a convenient snack straight from the jar. They also bring crunch and tang to everyday meals, so you can use them in several simple ways.
- Serve them beside sandwiches or burgers.
- Add slices to salads for extra texture.
- Offer spears as a crisp side dish.
- Enjoy them on their own between meals.
Because the pickles stay chilled, remove only the portion you plan to eat. Return the jar to the refrigerator promptly after serving.
Storage And Shelf Life
Keep refrigerator dill pickles sealed and cold at all times. They can last for up to two months in the refrigerator, although the best crunch usually comes during the first few weeks.
Do not treat this refrigerator method like shelf-stable canning. The jars remain a refrigerated food, and the cucumbers should stay under the brine. Therefore, cold storage is an important part of the recipe.
For more refrigerator storage guidance, see this resource about how long food can be stored in the fridge.
Common Problems And Simple Fixes
Most refrigerator dill pickle problems involve texture, salt level, or preparation time. The table below offers a practical adjustment for each issue.
| Problem | Likely solution |
|---|---|
| Pickles are soft | Use fresher cucumbers and avoid overcooking the brine. |
| Pickles taste too salty | Reduce the salt in the next batch to suit your preference. |
| Flavor seems mild | Let the jars sit longer; the best flavor often develops after 3-5 days. |
| Brine is reused | Prepare a fresh brine for each new batch. |
Frequently Asked Questions About Refrigerator Dill Pickles
Can You Use Regular Cucumbers?
Yes. Regular cucumbers can work, but pickling cucumbers are preferred because they tend to be smaller and firmer.
How Soon Can You Eat The Pickles?
You can begin eating them after at least 24 hours. However, refrigerator dill pickles usually taste best after three to five days of chilling.
Can You Add Other Vegetables?
Yes. Carrots, bell peppers, and onions can be added to the jars for more variety and texture.
Does The Brine Need To Boil?
Boiling helps dissolve the salt and sugar while supporting flavor infusion. Some recipes use a no-boil method, but this recipe heats the brine before cooling it.
Can Dried Dill Replace Fresh Dill?
Fresh dill provides the brightest flavor. However, dried dill can replace it when fresh dill is not available.
Can You Adjust The Seasoning?
Yes. You can adjust the salt, garlic, and optional spices to match your taste. Make changes carefully, especially when preparing your first batch.
Enjoy Fresh Pickles With Little Fuss
This refrigerator dill pickles recipe gives you a practical way to make crisp, tangy pickles at home. With basic ingredients, simple tools, and a few days of chilling, you can create a flavorful snack that fits many meals.
Start with firm cucumbers, keep them fully submerged, and store the jars in the refrigerator. Then customize the brine with garlic, dill, jalapeño, or other preferred spices for a batch that suits your table.

Lamartine P is a health and wellness researcher focused on supplements, lifestyle, and evidence-based content. He analyzes products, studies market trends, and translates complex information into practical insights to help readers make informed decisions.